Are you tired of having to walk all the way to the light switch every time you want to turn on or off a light in your home? Well, imagine being able to control that same light with just the flip of a switch, even if you’re on the other side of the room! In this blog post, we will be discussing how to control a light bulb using a single pole one-way switch. This type of switch is commonly used in residential electrical wiring and allows you to control a light or other electrical device from a single location. By the end of this tutorial, you will have the knowledge and confidence to install a single pole one-way switch in your home and take control of your lighting.
Layout diagram

Wiring diagram
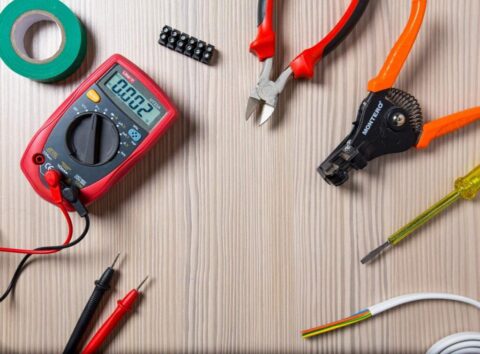
Equipment and tools: Steel rule, Plier, Awl, Tester, Combination Plier, Cable Insulation Knife, Mallet, Screw Driver.
| Name of the Item | Amount |
|---|---|
| Single pole one-way switch | 1 no’s |
| Batten Holder | 1 no’s |
| PVC Sunk Box | 1 no’s |
| PVC Round Block | 1 no’s |
| 1/1.3 Red Wire | 1 no’s |
| 1/1.3 Blue Wire | 1 no’s |
| Bulb | 1 no’s |
Procedure: Take the measurements according to the layout diagram and create the wiring diagram. Use the equipment and tools to draw on the board. Then, fix the clips, PVC box and the switch. Afterward, use the tools and fix the 1/1.3 red wire and 1/1.3 blue wire on the clips, using the right measurements. Then, use a multi-meter and check if the circuit is correct. If so, connect the electricity supply.
Conclusion: The circuit will activate properly and light the bulb.