Welcome to our tutorial on setting up a home bell circuit! In this post, we will guide you through the process of installing a bell system in your home, which can be used to alert you of visitors or emergencies. We will provide a list of the necessary equipment and tools, as well as a step-by-step procedure for completing the task. Whether you are an experienced electrician or a beginner looking to tackle a DIY project, this tutorial has something for everyone. So, let’s get started and learn how to set up a home bell circuit!

Layout diagram

Wiring diagram
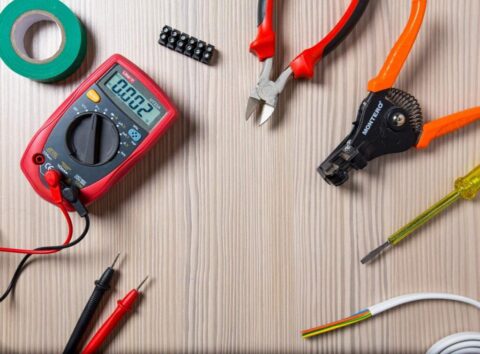
Equipment and tools: combination plier, cutting plier, cable insulation knife, tester, screw driver, multi-meter, awl, and mallet.
- Single pole one-way switch 05no’s
- Two way switch 01no’s
- Batten Holder 02 no’s
- Sunk Box 06no’s
- Round Block 02
- 1/1.3 Red Wire
- 1/1.3 Blue Wire
- Bulbs 03
- Home bell 03
Procedure: According to the layout diagram, take the measurements and set the sunk box using screw nails. According to the wiring diagram, take measurements and set the clips and 1/1.3 wires. Then, set the round block and bottom holder with the relevant wires. Then, complete the circuit by fixing the sunk box and switches along with the wires relevantly. Test the circuit with a multi-meter and give power supply.
Conclusion: When the S2 switch turns ON, L1 and L2 bulbs light up. When S1 switch turns on, only L2 bulb lights up. When S3 switch turns on and S4 switch is pressed, the bell rings and the coil shakes. Likewise, when S5 and S6 switches turn on, the bell rings and the second and third coils shake.