Welcome to our tutorial on how to build a series parallel circuit! This type of circuit is a common configuration in many electronic systems and is known for its ability to deliver power efficiently. In this guide, we will walk you through the steps of building a series parallel circuit from scratch, including the necessary materials and tools you will need. Whether you are a beginner or an experienced engineer, this tutorial will provide you with the knowledge and skills needed to create a functional series parallel circuit. So grab your soldering iron and let’s get started!

Wiring diagram
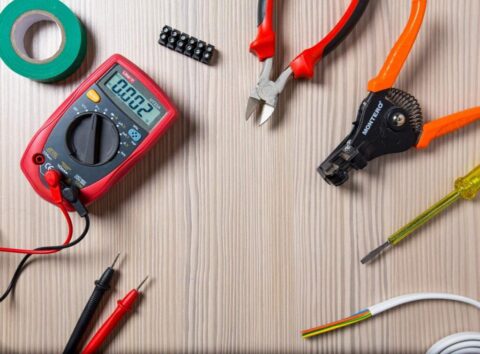
Equipment and tools: Steel rule, cutting plier, awl, tester, combination plier, cable insulation knife, mallet, screw driver
Items
- One way switch 01 no’s
- Two way switch 02 no’s
- Batten Holder 02 no’s
- Sunk Box 03 no’s
- Round Block 02
- 1/1.3 Red Wire
- 1/1.3 Blue Wire
- Bulbs 02
Layout diagram

Procedure: Prepare the wiring diagram according to the layout diagram. Collect the tools and items required according to the list. Using the steel rule, take the correct measurements according to the layout diagram. Then, set the clips according to the number of wires. Then set the round block and sunk box. Then draw the 1/1.3 red and blue wires on the board accordingly. Check the circuit from a multi-meter and give power supply. When the S1 switch turns on, the first bulb lights up and when the S2 switch turns on, both bulbs light up. When the S3 switch turns on, L1 bulb turns off and L2 bulb keeps lit.
Conclusion: Circuit worked properly.