Welcome to our tutorial on how to build a tunnel control circuit! In this guide, we will walk you through the steps of assembling the circuit using a variety of equipment and tools. Before we get started, let’s go over the list of items you will need to gather.
Wiring diagram
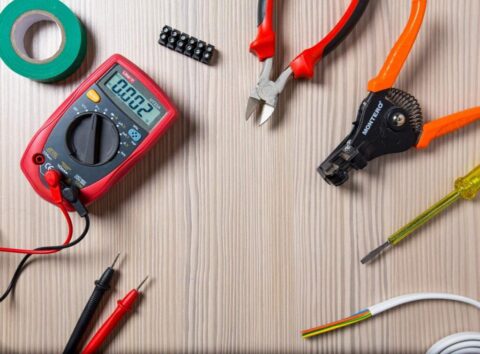
Equipment and tools: Combination Plier, cutting plier, Steel rule, tester, cable insulation knife, saw, mallet
items
- Two way switch 04 no’s
- Batten Holder 03 no’s
- Sunk Box 04 no’s
- Round Block 03
- 1/1.3 Red Wire
- 1/1.3 Blue Wire
- Bulbs 03
Layout diagram

Procedure: Prepare the wiring diagram according to the layout diagram. Collect the tools and items required according to the list. Using the steel rule, take the correct measurements according to the layout diagram. Set the clips as needed using the mallet and tintax nails. Set the PVC round box and PVC sunk box on the board. Now, according to the wiring diagram, set the 1/1.3 red and blue wires on the clips. Then, set the button holders and the four two-way switches on the board with the help of a tester. Now check the circuit with a multi-meter and give electric supply. In this tunnel control circuit, the first bulb lights up when the first switch is on. When the second switch turns on, the first bulb switches off and the second bulb switches on. When the last switch turns on, all the bulbs turn off and you can use the circuit the other way around as well.
Conclusion: The circuit activated properly.