Welcome to our tutorial on how to build a master control circuit! In this guide, we will show you how to assemble a circuit that can control multiple electrical devices with just a flip of a switch. To get started, you’ll need to gather a few tools and materials. You’ll need a steel rule, plier, awl, tester, combination plier, cable insulation knife, mallet, and a screw driver. With these tools on hand, you’ll be well equipped to tackle the task of building a master control circuit. Whether you are a beginner or an experienced engineer, this tutorial will provide you with the knowledge and skills needed to create a functional circuit that can manage all of your electrical devices. So let’s get started!

Layout diagram
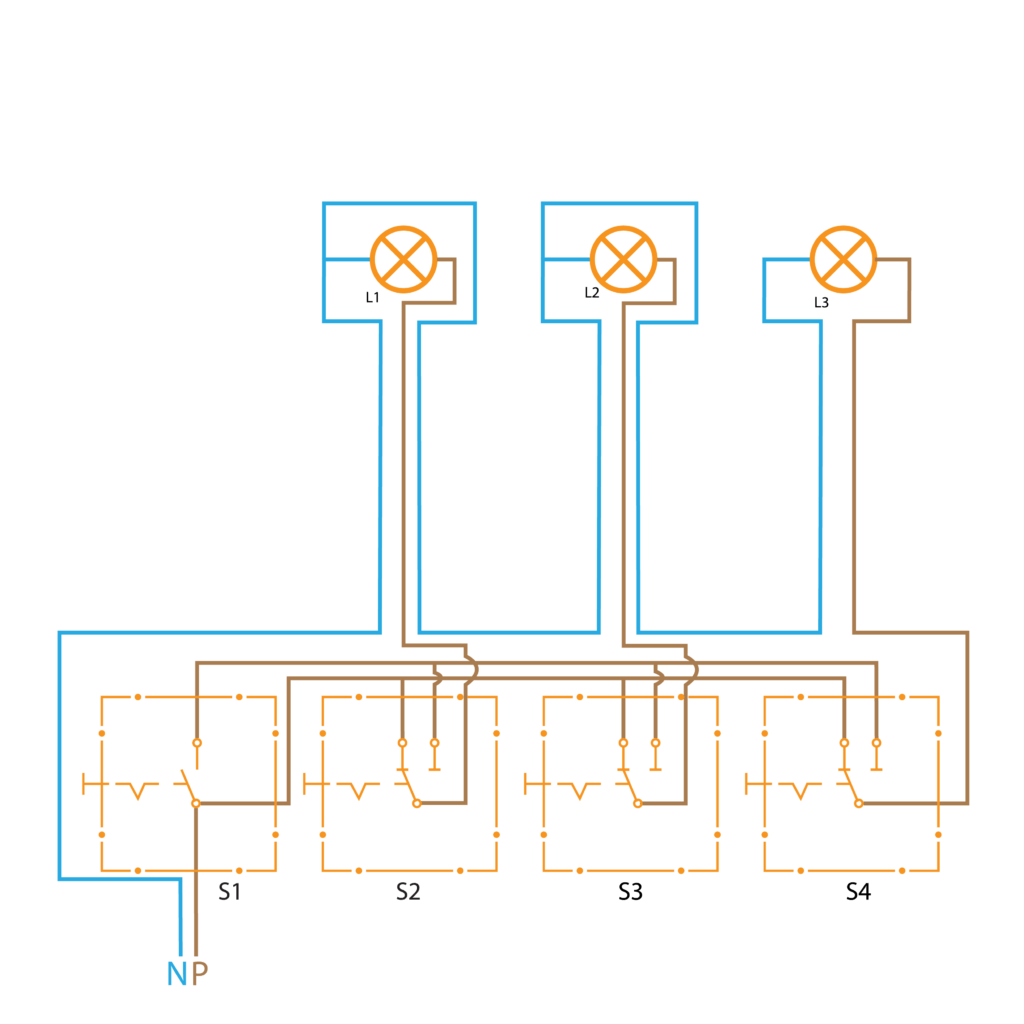
Wiring diagram
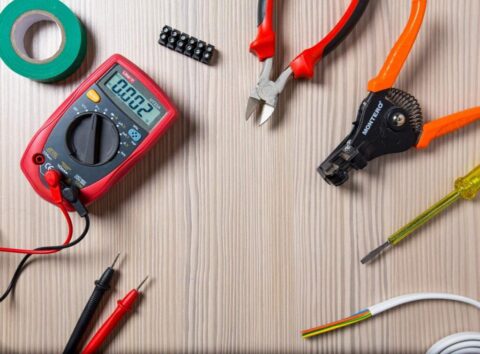
Equipment and tools: Steel rule, plier, awl, tester, combination plier, cable insulation knife, mallet, screw driver
Items
- One way switch 01 no’s
- Two way switch 03 no’s
- Batten Holder 03 no’s
- Sunk Box 04 no’s
- Round Block 03
- 1/1.3 Red Wire
- 1/1.3 Blue Wire
- Bulbs 03
Procedure: Prepare the wiring diagram according to the layout diagram and draw on the board with the right measurements. Then, set the 1 ¼ and 1 ½ clips according to the number of wires. Afterward, set the 1/1.3 red and blue wires on the board. Then, fix the one-way and two-way switches according to layout diagram. Check if the circuit is correct with the help of a multi-meter and give electric supply.
Conclusion: The circuit activated properly.